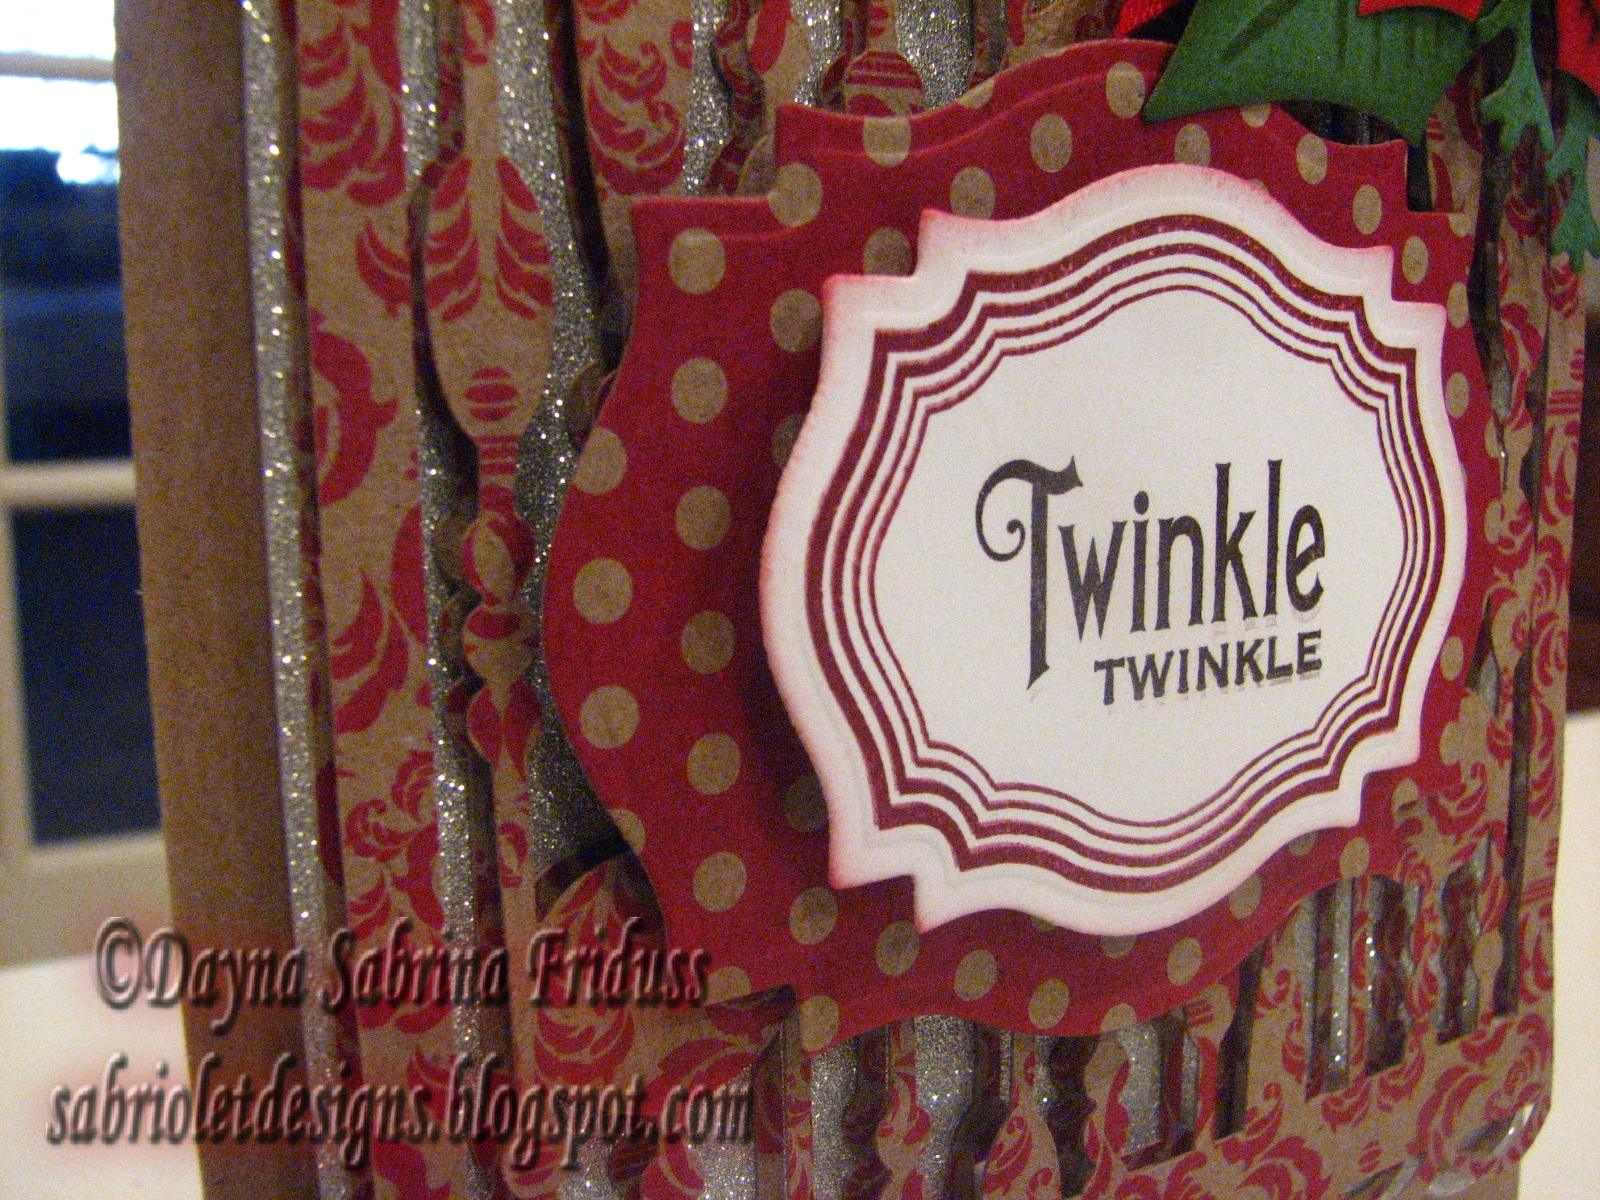
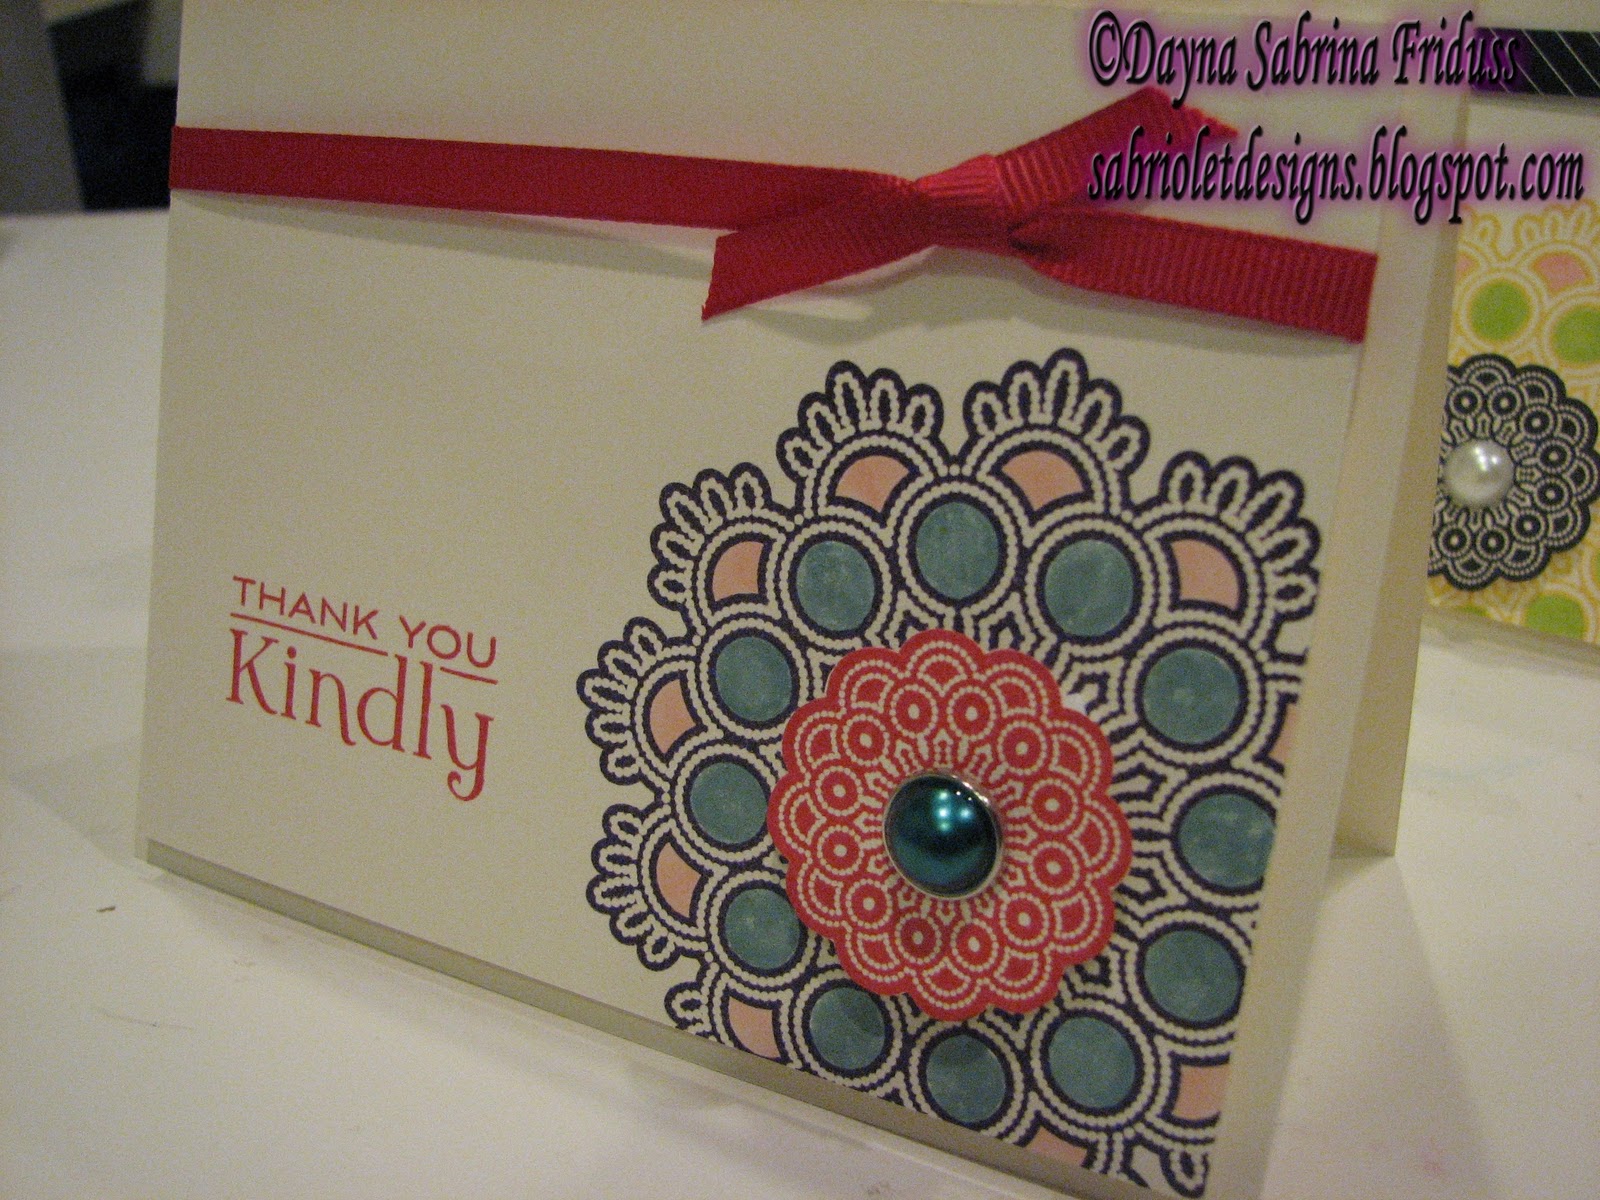
What can I say! You haven't seen all of them yet. I'll keep this one short. This is my second to last set I created for my son's team. I did pull out some stamps though (go me) and some of my spellbinder dies. It had been a while so that felt pretty good. Anyway, here they are:
Recipe:
Silhouette Studio: card shapes and shadows
Paper: Bazzill basics, Stampin' Up bright white, The Paper Studio Everyday Kraft
Spellbinders: Circles, Lacey Circles
Stamps: Verve, Waltzingmouse Vintage Circles, Fiskars "Thanks"
Misc: Punch - Martha Stewart, Ribbon - My stash
Thanks for stopping by!
Showing posts with label Waltzingmouse Stamps. Show all posts
Tuesday, May 22, 2012
Monday, December 12, 2011
Card Patterns Sketch Challenge No. 145

I found a few hours today to fit in a card for Card Patterns Sketch Challenge. Yes, I am still in love with Kraft paper, and yes, I am still using Holiday Kraft paper. It's like an addiction. The stack is almost gone but I'm squeezing out as much out of it as I can! The sketch is a horizontal sketch, but I decided to turn it vertically for my card. And yes, I also used the DCWV Dazzle stack again. But I'm down to my last silver piece of paper so there won't be too many more of these unless I can locate another stack. These are hard to find for some reason! Have you seen them in your local store? I found the one stack I have in Joann's tucked away and mixed in with the K & Company paper. It was the ONLY one too! After working with it I understand why they are so popular. Hopefully they will show up again after the holiday season.
Recipe:
Paper: Canvas Corp. Holiday Kraft Paper, DCWV Dazzle Stack, Bazzil basics
Silhouette: Beaded background & mat, Circle border, scallop edge
Spellbinders: Labels 18, Layered Poinsetta, Foliage
Waltzingmouse Stamps: Vintage Labels 18, Seasons of Love (sentiment), Fancy Flourishes Scallops & Dots
Ribbon & Ink: Stampin' Up
Thanks for stopping by!
Labels:
Cards,
Challenges,
DCWV,
Silhouette,
Spellbinders,
Stampin' Up,
Waltzingmouse Stamps
Tuesday, December 6, 2011
Happy Birthday to My Sister!
Two of my sisters have birthdays in December and in my effort to actually send a card this year, I decided to get on the first one right away. My oldest sister lives in Viriginia so this one is mail bound today. If you are a regular follower you can see that I'm in a kraft, red, and black paper phase. That's okay, I go through these from time to time and as long as I'm happy with what I'm making I'll continue with it until I get bored! I also used my new Cricut Circle Cart - Paper Trimmings for the first time. They are quite a few excellent images on this cartridge and even better borders. I am probably going to be using it a lot, especially for scrapbooking. I can never have enough borders. About this card - no sketch was involved. I just decided on little off center placement of the mats and the focal point. I also did a little stitching and finished the inside of the card so I can write my sister a nice note. It was a really quick card, it took me less than an hour which is good because I am still working on my sons' teachers' gift boxes and cards. Stay turned for that one.
Recipe:
Paper: Canvas Corp, Bazzil, Stampin' Up Very Vanilla
Cricut Cartridge: Paper Trimmings
Spellbinders: Circles
Stamp: Waltzingmouse Fancy Phrases
Crinkly Ribbon: The Craft Spot
Brad: My Mind's Eye - Stella & Rose
Crinkly Ribbon: The Craft Spot
Brad: My Mind's Eye - Stella & Rose
Thanks for stopping by!
Labels:
Birthday Card,
Card,
Paper Trimmings,
Spellbinders,
Waltzingmouse Stamps
Saturday, December 3, 2011
I Won! I Won! I Won!
I am a Top Mouse over at Waltzingmouse Sketch Challenge for my Christmas Lights cards. Occasionally we step outside of our box and something great happens! I just wanted to share and to thank all of you for your wonderful comments on this project. And here they are again.
Thanks for stopping by today!
Sunday, November 27, 2011
More Waltzingmouse # 75
I had so much fun making those cards last night I made another set this morning! This time I used the Large Doily 2 stamps, Fancy Phrases and Fancy Flourishes. I colored a little, did a bit more layering and added some ribbon to these. Pretty cute for an hour and a half's work.
Thanks for stopping by!
Waltzingmouse Sketch Challenge No. 75
Something new. I stamped. And colored. Since when have I ever done that? Never! And I'm an amateur. I colored these Waltzingmouse Christmas light images with a combination of the few copics I own, along with some Stampin' Up markers. And man was this quick. Consider this my clean and simple look, which I am still trying to master. Lol. So for what it's worth, I'm happy! I have a lot of odds and ends to get out over the next few weeks and these cards will do the trick for sure.
Paper: Stampin' Up White
Stamps: Waltzingmouse Dainty Doilies2, Season of Love
And before I forget, here's this week's sketch!
Thanks for stopping by!
Monday, November 21, 2011
Waltzingmouse Sketch Challenge No. 74
It's been a while since I made a card and man did that feel good. Two hours, in and out, and it's done. This card was made with a friend in mind. I am sending her a gift and wanted to send something fun along with it. This week's Waltzingmouse sketch was the perfect jumping off point. The sketch:
And the card:
Recipe:
Paper: Coordinations, Kraft Paper, Stampin' Up Vanilla
Spellbinders: Vintage Ornaments, Labels 18
Waltzingmouse Stamps: Vintage Ornaments, Labels 18, Say It With Style
Twine: The Twinery
Stampin' Up Ink: Cherry Cobblyer, Chocolate Ink, Wild Wasabi
Embossing: Cuttlebug Folders
Thanks for stopping by!
Labels:
Challenges,
Spellbinders,
Waltzingmouse Stamps
Sunday, November 20, 2011
Take A Picture
Happy Sunday before Thanksgiving everyone! Today is my day to guest design on TheThe Bugbytes. If you have some time, please go check out the blog. Pam as assembled a rock star lineup of guest designers and I am never disappointed with the projects over there and neither will you! This week I have more scrapbook pages for you. I don't know if any of you spend any time perusing the gallery over at Two Peas. I am always intrigued by scrapbook pages that have this teeny, tiny photo sitting alone, a few small embellishments, and then, well, nothing else. I think this new stream lined look is definitely *in* to some degree. While it doesn't feel like my style, I can't help but be intrigued by pages that don't have much on them, but still turn out very pretty. So I decided I was going to attempt a more stripped down look for these next pages. I also wanted to try a technique I saw in one my my crafting magazines (can't remember which one sorry!) which was to frame out part of a picture. I've had this photograph of my boys and I from a Mini Golf trip we took last year. We are in the corner of the photo so it sort of lends itself to this technique.
The frames are from the Cricut cartridges Sophie and Cindy Lou respectfully. I think I ultimatley like the second one better. After inking it with chocolate chip (Stampin' Up), I still felt like it was lacking something so I decided to add some bling to the corners, and it just grew from there. I've had those pearls in my stash for almost a year and I'm always giddy when I get to use something that I really liked but just couldn't *work in* any other project.
Something else new that I tried was stamping on a layout. The picture is a 6 x 6 photo that I trimmed down to 5.75 x 5.75. I stamped, in Craft ink on the top page, and then Old Olive on the bottom page the floral stamp from Stampin' Up's Elements of Style. I then cut the mat out from Elegant Edges and the result is a custom designer paper. More stamping can be seen on the tags, flower pot and leaves. I also used Waltzingmouse stamps that coordinate with Spellbinders Labels 18 to create the journaling tag and mat you see at the top. Again, I used the flourish stamp to give the paper a bit more interest.
The last major element on this page worth mentioning are the flowers coming out of the flower pot. I was inspired by my friend over at Cool Beans by L.B. who created this really cute card with flowers and stems coming out of a pot. This is my attempt at a more 3D version. The flower pot is from the Make The Cut gallery. I used baker's twine from the Twinery for stems and finally, the flowers are a mixture of flowers cut and quilled from Flower Shoppe (the leaves are also on the Flower Shoppe cartridge) and from my stash. I wasn't terribly happy with the flowers overall. I think this might have been the one time it would have been better to make them less 3D. But I don't hate them and I will remember that for next time.
Here are a few more pictures of the pages.
Recipe:
Paper: My Mind's Eye Lost & Found
Cartridges: Sophie, Elegant Edges, Cindy Lou, Flower Shoppe
Spellbinders: Labels 18, Scallop Hearts
Make The Cut - flower pot
Misc: Twine - The Twinery, Pins - Maya Road, Pearls and Bling - my stash
Thanks for stopping by!!
Labels:
Cricut - Various Cartridges,
Elegant Edges,
Flower Shoppe,
Make The Cut,
Sophie,
Spellbinders,
Stampin' Up,
Waltzingmouse Stamps
Subscribe to:
Posts (Atom)