Showing posts with label Stampin' Up. Show all posts

Monday, May 19, 2014

Hello

More masking, more stamping.  I am trying to play around with stamp sets that I haven't used, or haven't used that much.  I can't help but get a little excited when I can cross another set off my list.  


Thanks for stopping by!

Sunday, May 4, 2014

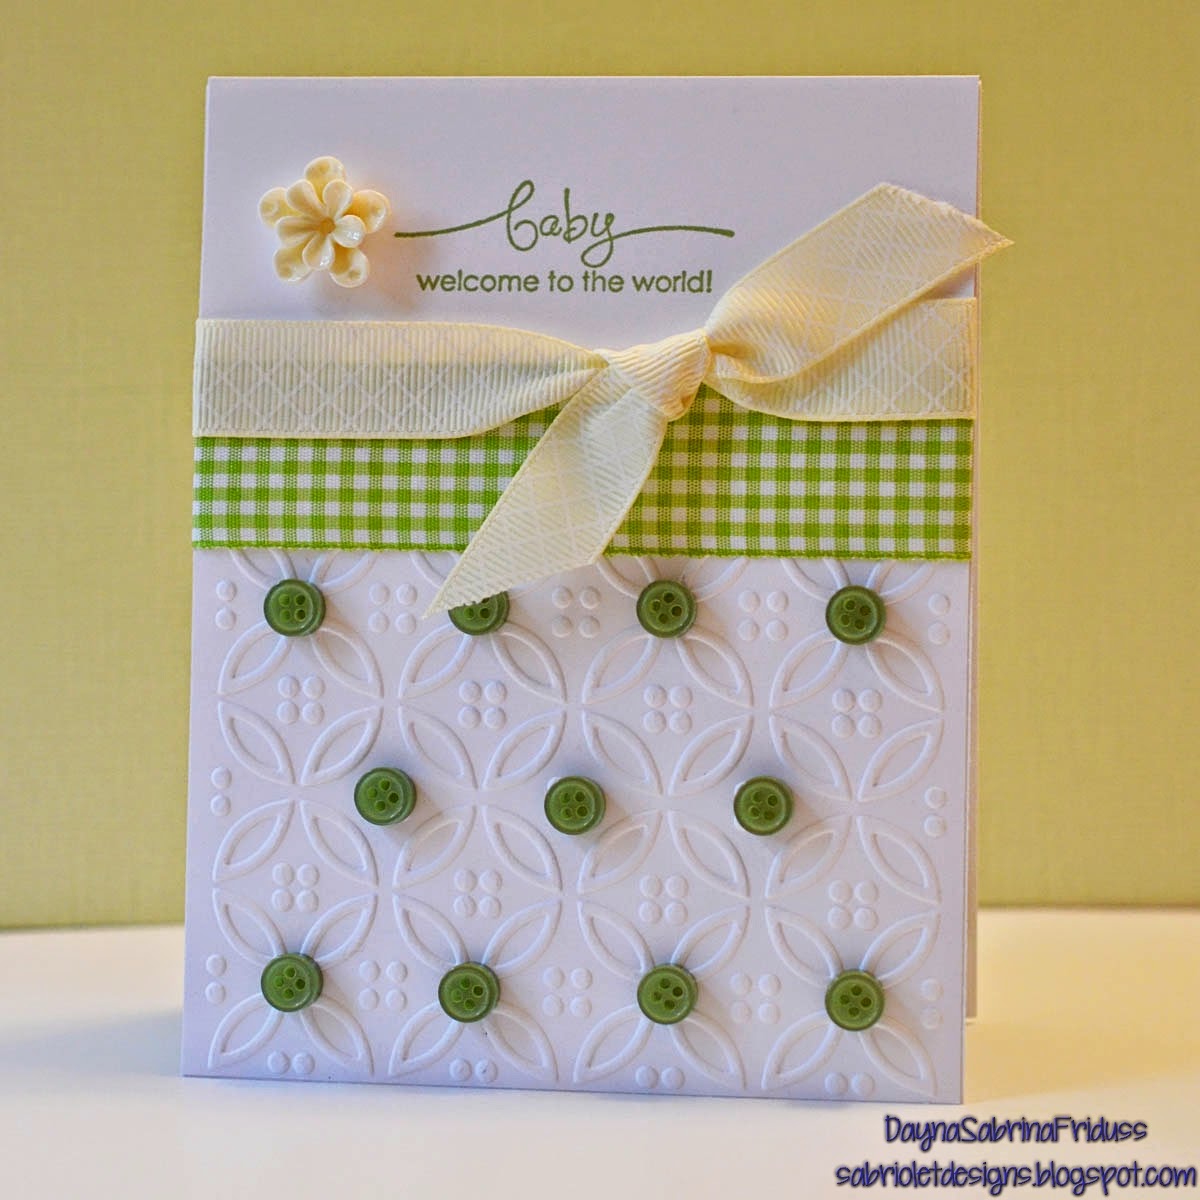
Okay, just a few more baby cards . . .

What can I say, I was on a roll.  This will hopefully get Brandy off my back for a while!  These cards were inspired by this card that I found on none other than Pinterest. I had to dig for quite a while to find a baby shower worthy stamp!  I swear I never make these things.  Anyway, I was always thrilled to finally use some of these buttons from Pebbles.  They are so darling but I haven't been able to work them into a project yet.  Yes, to using my supplies . . .


Thanks for stopping by!

Friday, May 17, 2013

More Randomness . . .

A few more cards I made over the weekend playing around with some new stamps.  This first card features  a floral stamp from Stampin' Up using the emboss resist technique.  Those gorgeous hearts are new wood veneers from Studio Calico 


I used a Simon's Says background stamp for the arrows, and a Provo Craft embossing folder.  The sentiment is from Cas-ual Friday Stamps.


Thanks for stopping by today!!

Thursday, September 27, 2012

Thank You Treat Boxes featuring Fall Splendor

My sister asked me to make her some boxes that she can hand out as little gifts to the people who help her on her fundraising campaigns.  I have been dawdling around with the project for a while and finally got going on it this week.  I used a box from the Silhouette Store designed by Lori Whitlock, and the new DCWV's Fall Splendor stack.  Here they are!


Recipe:
Paper:  DCWV Fall Splendor, Silky Smooth Stack, Neutrals Stack
Stamp:  Stampin' Up
Buttons & Twine:  My Stash

Thanks for stopping by!


Monday, December 12, 2011

Card Patterns Sketch Challenge No. 145


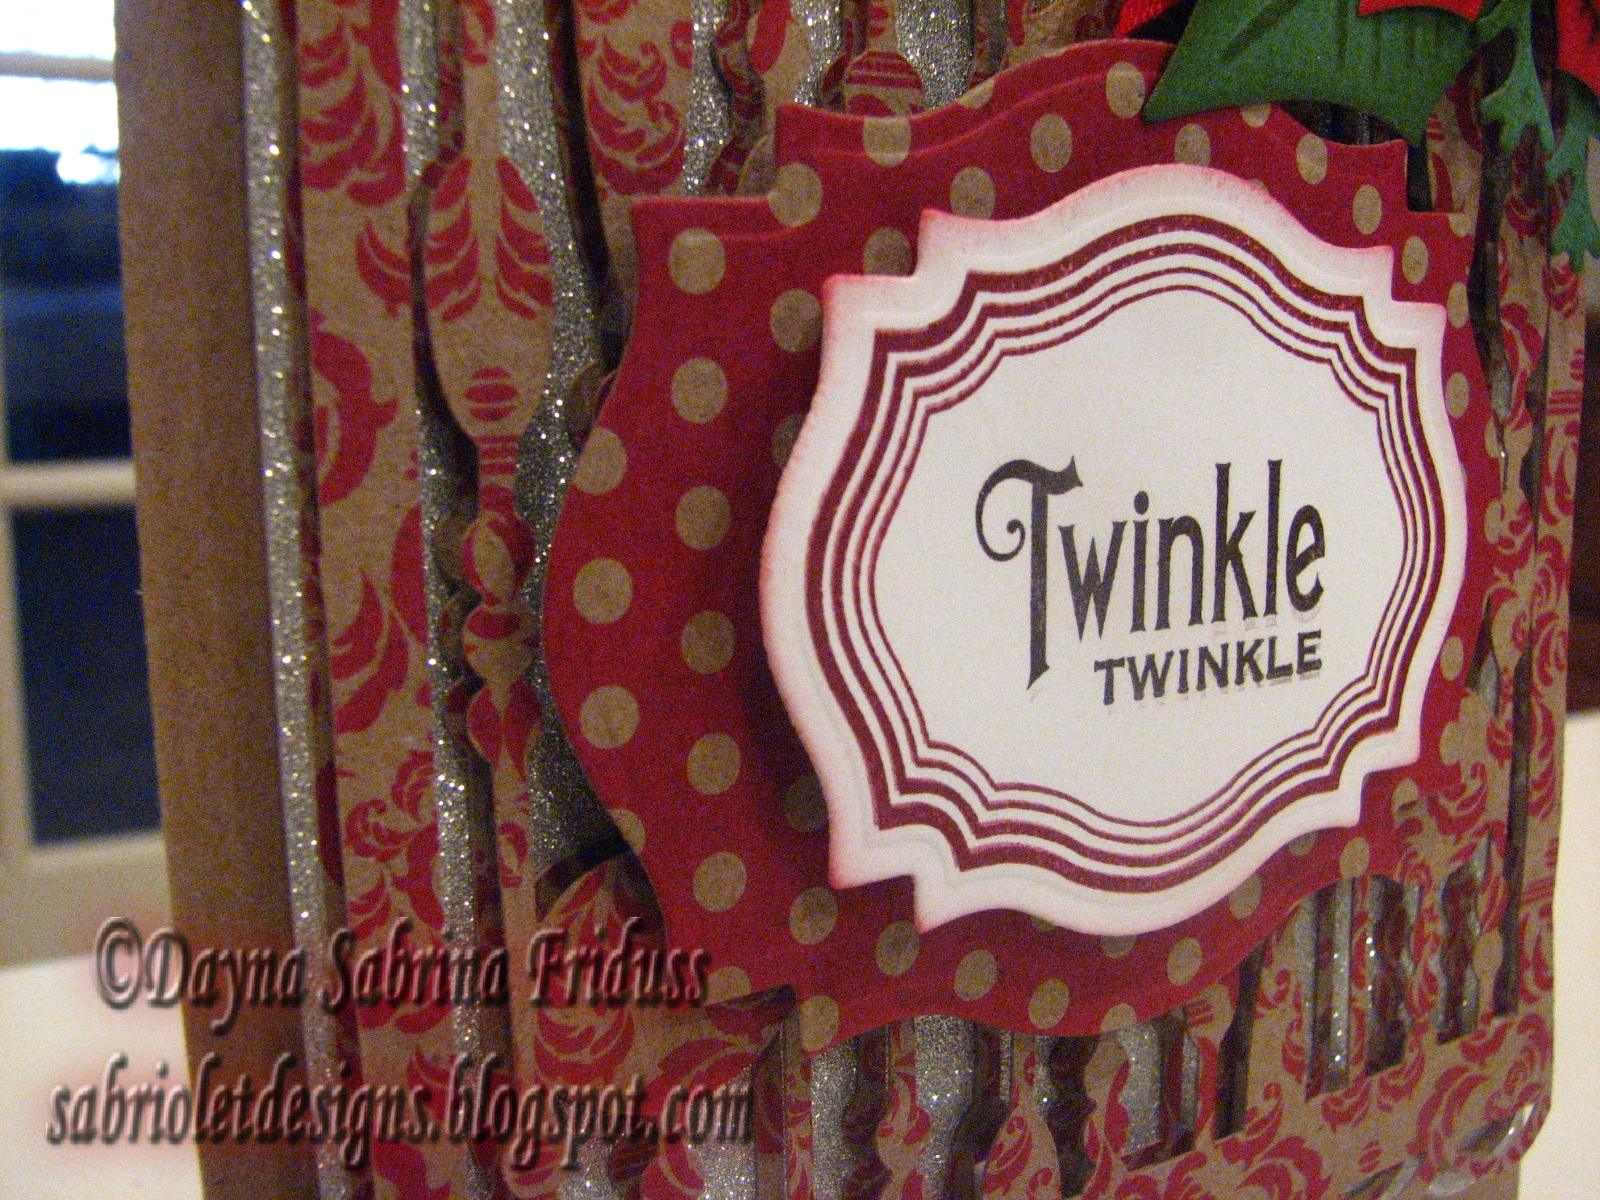
I found a few hours today to fit in a card for Card Patterns Sketch Challenge.  Yes, I am still in love with Kraft paper, and yes, I am still using Holiday Kraft paper. It's like an addiction.  The stack is almost gone but I'm squeezing out as much out of it as I can! The sketch is a horizontal sketch, but I decided to turn it vertically for my card.  And yes, I also used the DCWV Dazzle stack again.  But I'm down to my last silver piece of paper so there won't be too many more of these unless I can locate another stack. These are hard to find for some reason!  Have you seen them in your local store?  I found the one stack I have in Joann's tucked away and mixed in with the K & Company paper.  It was the ONLY one too! After working with it I understand why they are so popular.  Hopefully they will show up again after the holiday season.


Recipe:
Paper:  Canvas Corp. Holiday Kraft Paper, DCWV Dazzle Stack, Bazzil basics
Silhouette:  Beaded background & mat, Circle border, scallop edge
Spellbinders: Labels 18, Layered Poinsetta, Foliage
Waltzingmouse Stamps: Vintage Labels 18, Seasons of Love (sentiment), Fancy Flourishes Scallops & Dots
Ribbon & Ink:  Stampin' Up

Thanks for stopping by! 

Sunday, November 20, 2011

Take A Picture

Happy Sunday before Thanksgiving everyone! Today is my day to guest design on TheThe Bugbytes.  If you have some time, please go check out the blog.  Pam as assembled a rock star lineup of guest designers and I am never disappointed with the projects over there and neither will you! This week I have more scrapbook pages for you.  I don't know if any of you spend any time perusing the gallery over at Two Peas.  I am always intrigued by scrapbook pages that have this teeny, tiny photo sitting alone, a few small embellishments, and then, well, nothing else.  I think this new stream lined look is definitely *in* to some degree. While it doesn't feel like my style, I can't help but be intrigued by pages that don't have much on them, but still turn out very pretty.  So I decided I was going to attempt a more stripped down look for these next pages.  I also wanted to try a technique I saw in one my my crafting magazines (can't remember which one sorry!) which was to frame out part of a picture.  I've had this photograph of my boys and I from a Mini Golf trip we took last year.   We are in the corner of the photo so it sort of lends itself to this technique.


The frames are from the Cricut cartridges Sophie and Cindy Lou respectfully.  I think I ultimatley like the second one better.  After inking it with chocolate chip (Stampin' Up), I still felt like it was lacking something so I decided to add some bling to the corners, and it just grew from there.  I've had those pearls in my stash for almost a year and I'm always giddy when I get to use something that I really liked but just couldn't *work in* any other project.

Something else new that I tried was stamping on a layout.  The picture is a 6 x 6 photo that I trimmed down to 5.75 x 5.75.  I stamped, in Craft ink on the top page, and then Old Olive on the bottom page the floral stamp from Stampin' Up's Elements of Style.  I then cut the mat out from Elegant Edges and the result is a custom designer paper.  More stamping can be seen on the tags, flower pot and leaves.  I also used Waltzingmouse stamps that coordinate with Spellbinders Labels 18 to create the journaling tag and mat you see at the top.  Again, I used the flourish stamp to give the paper a bit more interest. 


The last  major element on this page worth mentioning are the flowers coming out of the flower pot.  I was inspired by my friend over at Cool Beans by L.B. who created this really cute card with flowers and stems coming out of a pot. This is my attempt at a more 3D version.  The flower pot is from the Make The Cut gallery.  I used baker's twine from the Twinery for stems and finally, the flowers are a mixture of flowers cut and quilled from Flower Shoppe (the leaves are also on the Flower Shoppe cartridge) and from my stash.  I wasn't terribly happy with the flowers overall.  I think this might have been the one time it would have been better to make them less 3D. But I don't hate them and I will remember that for next time.


Here are a few more pictures of the pages.


Recipe:
Paper:  My Mind's Eye Lost & Found
Cartridges:  Sophie, Elegant Edges, Cindy Lou, Flower Shoppe
Spellbinders:  Labels 18, Scallop Hearts
Make The Cut - flower pot
Misc:   Twine - The Twinery, Pins - Maya Road, Pearls and Bling - my stash

 Thanks for stopping by!!

Saturday, October 29, 2011

Eight is Great!

My son celebrated his eighth birthday recently and I have been working on this one a little here and a little there over this past week.  His party isn't actually until tomorrow and thankfully I was able to get it finished up today.  It's a simple card, and really just a take on the birthday cards I made for my friend's twins'earlier this summer.  


The patterned paper is from Stampin' Up and the 8 is from Plantin Schoolbook.  I cut the 8 out of Coordinations cardstock and my original plan was to add a layer to the top of the 8 (what you see is the shadow) but I loved the way the coordinations cardstock looked so much I decided to leave it as is. The "is" came from my letter stash and the "great" was cut using Cindy Loo and of course I added  pop dots!


The inside sentiment was stamped using a stamp from Stampin' Up.


Recipe:
Paper:  Coordinations (card base and 8) and Stampin' Up
Cartridges:  Plantin Schoolbook and Cindy Lou
Embellishments:  Epoxy Stickers from my stash

Thanks for stopping by!

Saturday, August 27, 2011

Sophie Meets Flower Shoppe

Sophie arrived several days ago but today is the first day I've actually had a moment to sit down and play with it.  Out of all of the Cricut Circle cartridges this is the only one I have actually been excited about receiving.  Actually, this is only the second Circle cartridge that I've really liked.  It's right up there with some of my favorites - Elegant Edges, Damask Decor, and Flower Shoppe.  I can see myself using this over and over again.  

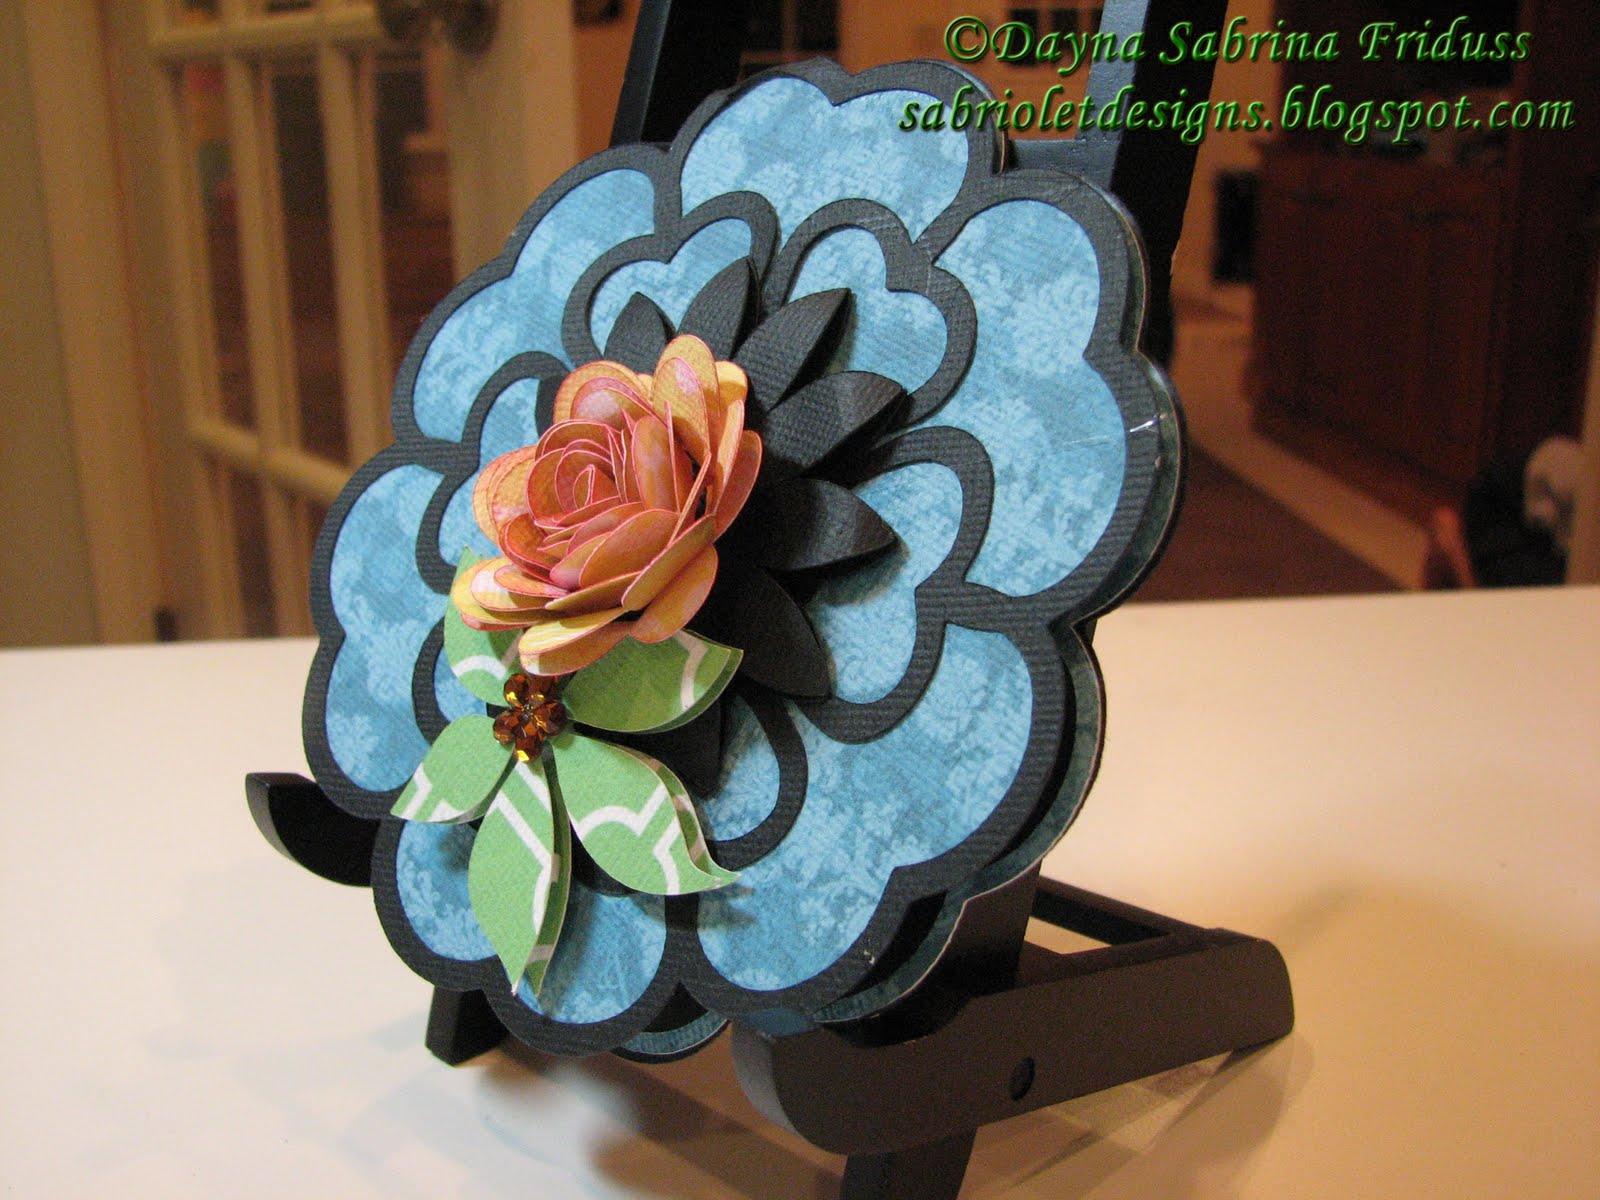
Without any specific occasion in mind I decided to make some general sentiment cards tonight.  I didn't really have a particular theme in mind, but just sort of went with whatever struck me.  I picked one of the flower shaped cards from the Card 1 feature I believe,  and made several versions using paper I printed from my Imagine.  Audrey is my go-to cartridge for paper in seems.  I have quite a few more, but I keep coming back to Audrey.  I added flowers I quilled from Flower Shoppe, along with leaves that were also cut from Flower Shoppe.  You guys know how much I love things to pop.  At first I didn't think I was going to be able to add any dimension other than the quilled flower but I was able to work in a bit of dimension with the leaves as well. I don't know what I'd do without my pop dots!! The bling was the final touch.  I am pretty pleased with the way these cards turned out.


Recipe: 
Paper:  Cricut Imagine Audrey; Black - AC Cardstock
Cartridges:  Sophie, Flower Shoppe
Stamps:  Stampin' Up, Verve
Bling - My Stash

As always, thanks for stopping by!
Related Posts Plugin for WordPress, Blogger...