



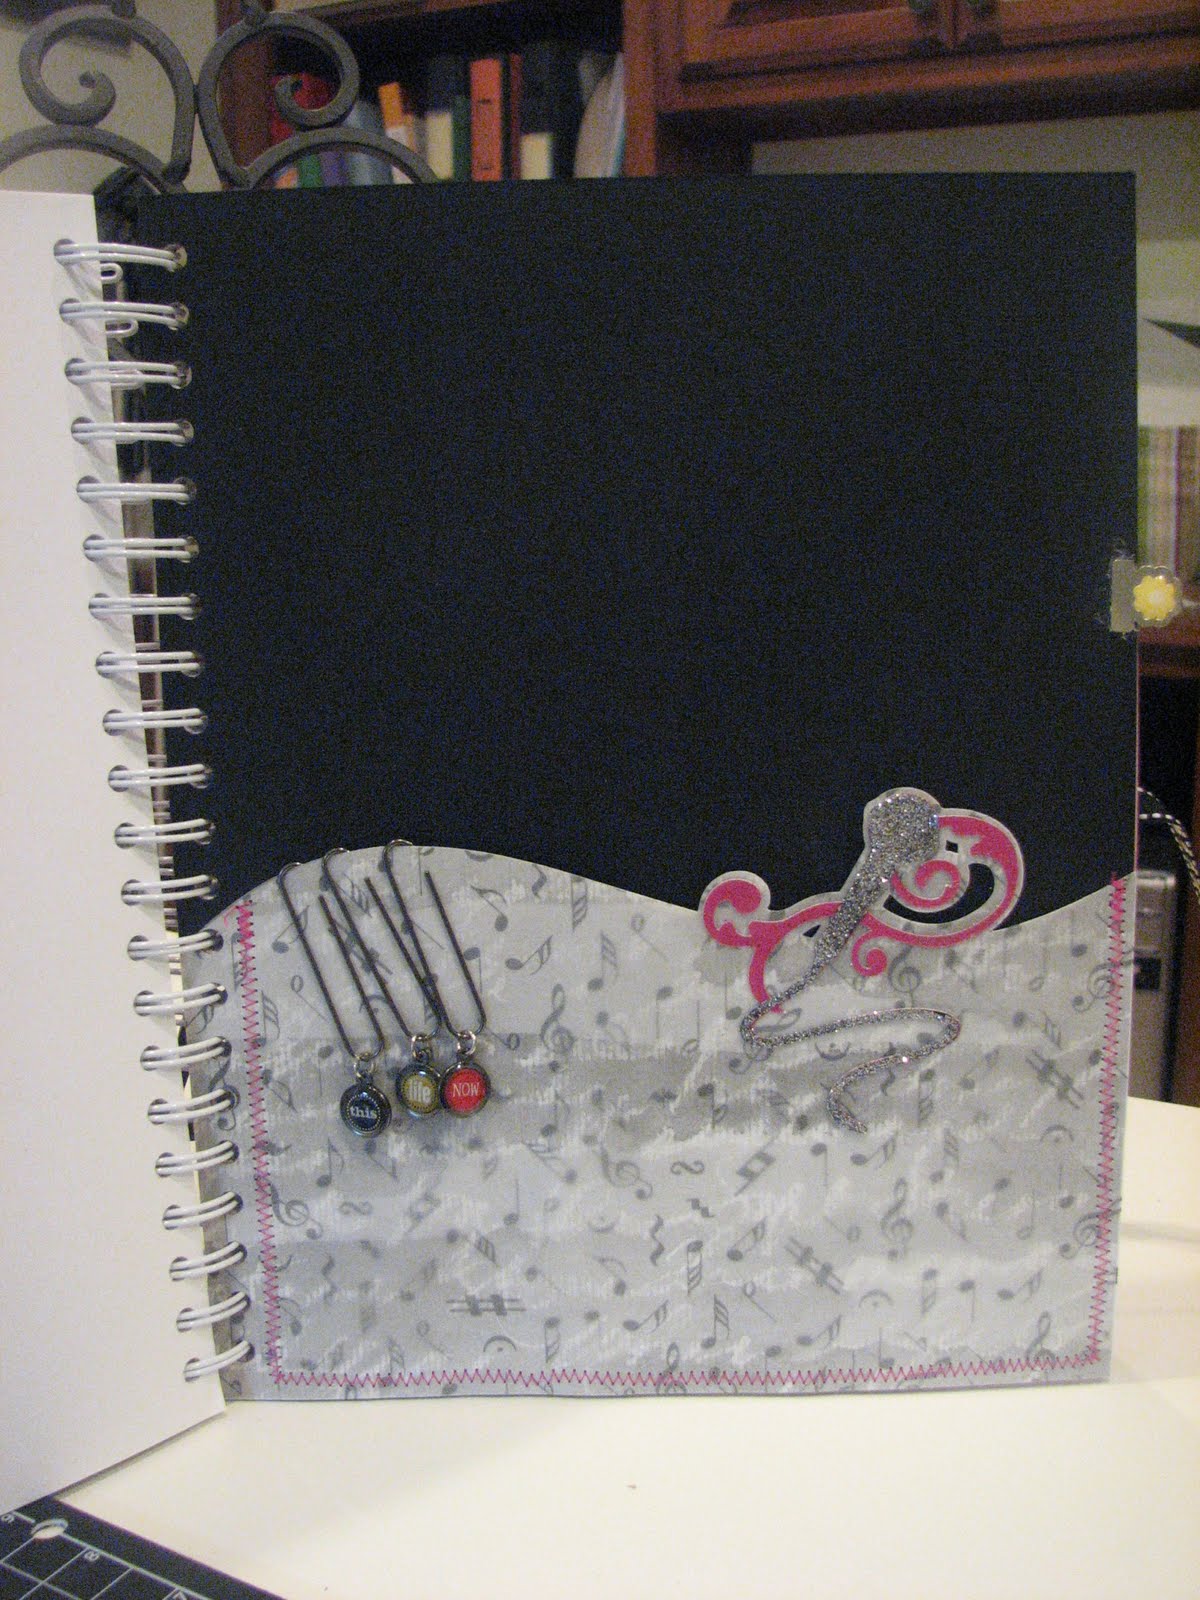
I am so excited! This is my first time desiging a project for TheBugBytes and I am thrilled for the opportunity! I want to thank Pam so much for asking me to contribute alongside these other fabulous crafters. My project is a Gratitude Journal. I have been toying around with the idea of keeping one of these for a while as a way to force myself to get happy and put it all in perspective on those rougher days. I figured why not make one instead of buying it? Here is the finished product.

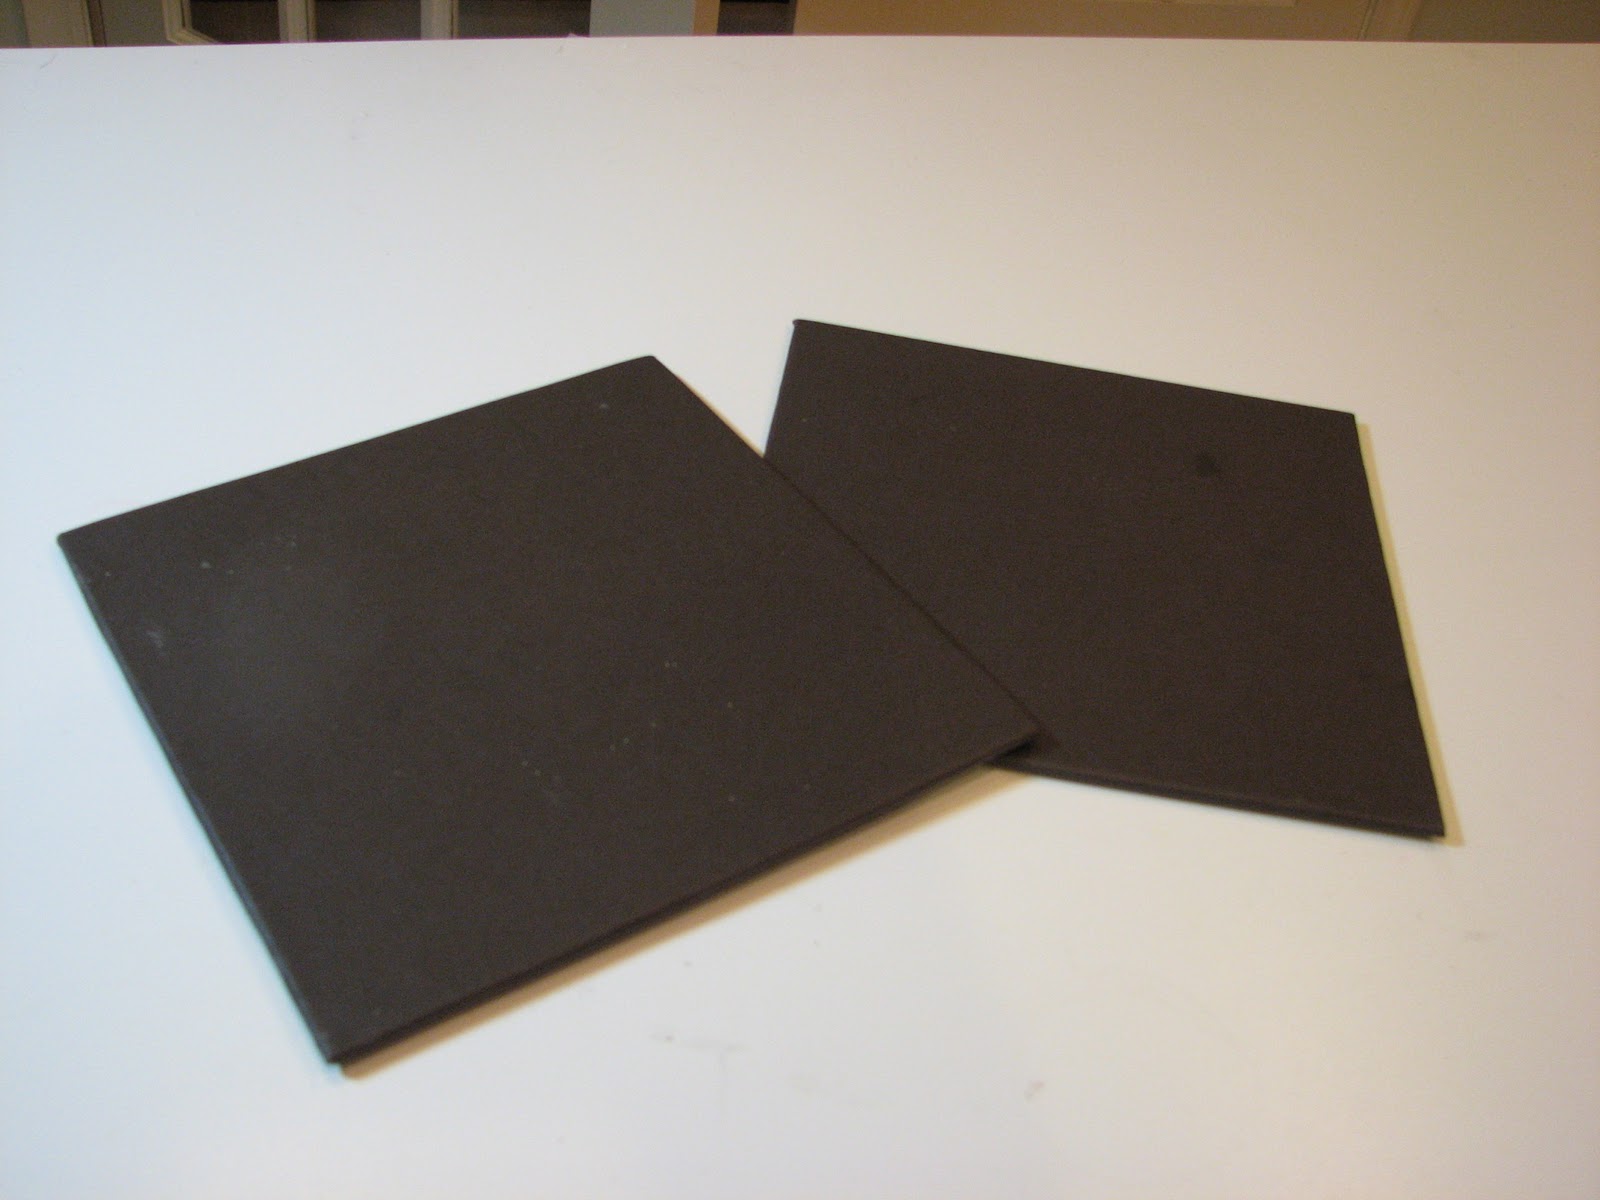
I started with two 6x6 pieces of chipboard made by Cinch. Yes, I could have probably cut some down, but then I would have to sand the edges and I'm lazy - so I bought them! Using Modge Podge for paper, I covered them with brown paper (Bazzil) on the outside, and then inside is covered using Coordinations paper.

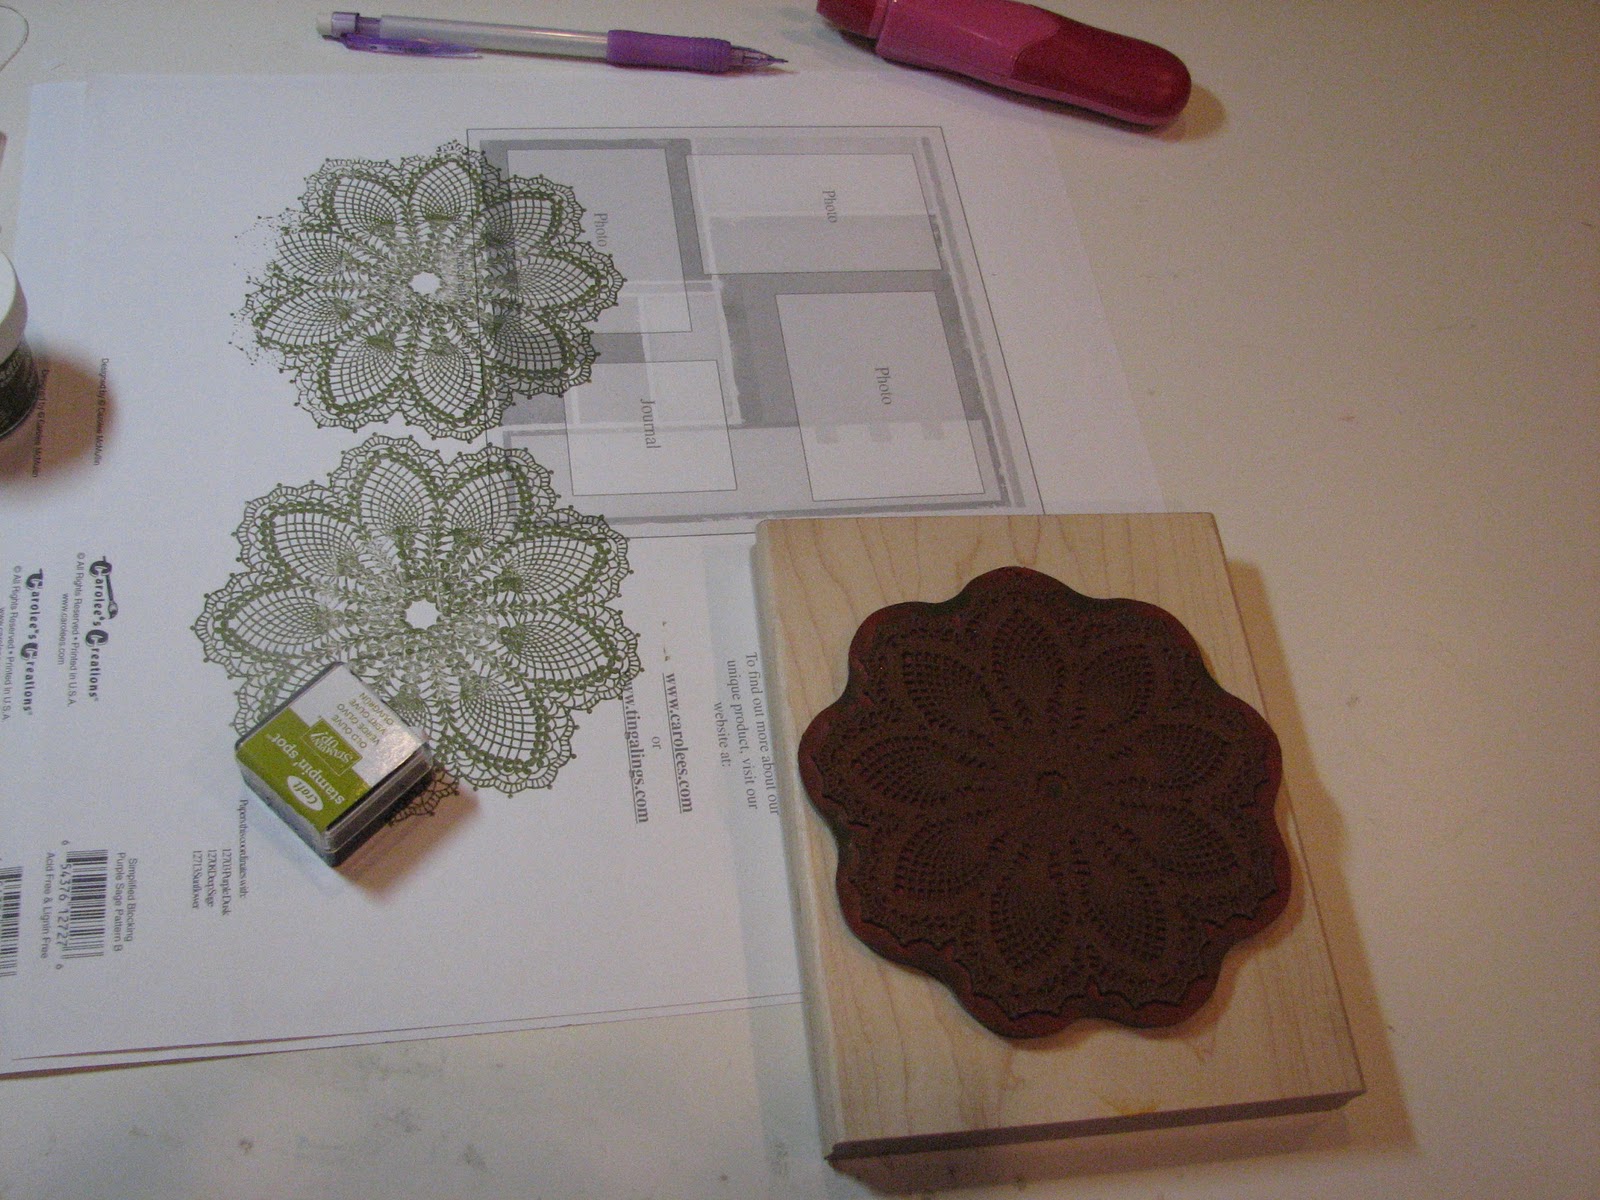
I decided I wanted to do something a bit different. I've never worked with canvas before, and I picked up a piece of 12 x 12 while at Archiver's. I pulled out my Hello Doily stamp from Stampin' Up and stamped on the canvas using Old Olive Stampin' Up craft ink. Now when I stamp with these larger stamps (or smaller ones for that matter) I also do a few test stamps on scrap paper so I have a good feel for the stamp. Some of the larger ones take a few tries before they stamp evenly. After I stamped the image onto the canvas, I was a bit worried because I couldn't see it very well. But then I covered it with the embossing powder (Adrionick Moss) and the image showed up very well. I was pleased that I got it on the first try!
This is what it looked liked after I covered it with embossing powder and shook off the excess.

Check out my fancy embossing/misting area - hey, why let a good box go to waste?

This is what it looked like after the embossing powder had set. It doesn't feel as textured as embossing powder feels on paper, but it does look like a very good stamped image. I was very happy with the result.

So what's next? I took a few pieces from my dwindling My Mind's Eye Stella & Rose collection and spent some time inking and distressing the edges. I decided that I wanted to use the doily image as an offset image, but I needed to cut it out first. I ran it through my Grand Calibur using one of my Spellbinders circle dies. It didn't cut 100% through, but left enough of an impression that I was able to trim it with my scissors. I also inked and distressed the edges of the canvas as well so an absolute perfect cut wasn't necessary.
Yes, I know this picture shows a different color doily - I actually did two - one in Moss and one in Copper to see which one I liked best - I cut them both out using my spellbinders die, but ultimately I went with the green one.


After inking and distressing each piece I adhered the pieces together, and added a bit of straight stitching with hot pink embroidery ink. I also trimmed off the edge of the doily to make it fit within the square. I then added some charms from Memory keepers spelling out the word Thankful. Because I am a slave to dimension (I have yet to find a project I couldn't work it in somewhere) I took a piece of off white paper, stamped the doily again, embossed it with the same moss embossing powder and then cut it out with a smaller Spellbinders die. I then placed it over the canvas symmetrically, on pop dots of course, and added a Stella & Rose brad to the center. A pearl flourish, flowing out from the center of the doily was the final touch. I love, love, love the final look of the journal's cover.

Okay, let's move on to the inside of the journal. I thought I could do something easy and just cut out 6x6 squares for pages, but I was feeling a bit more adventurous. I decided I wanted to have something with a fun border, so I turned to what? You guessed it - Elegant Edges. I took one of the borders, hid the inside cutouts (because I wanted it to be solid) and then welded it to a square shape using my gypsy. I then sat over my Expression for about 30 minutes cutting all of these out. Well my Cricut actually did the cutting, I mostly watched. I know a lot of people wouldn't have gone to the trouble of using their machine to do this, but I have several issues as a crafter, and one is that I am not so good with paper trimmer. I can cut out a 5 x 7 card fine, but ask me to do 40 of those back to back and I can guarantee you that most of them won't be 5 x 7. My Cricut is far more accurate than I!!


Okay, so now I have my journal pages - am I done yet? Well, no, the inside was looking a little bare to me so I decided to add something to it. Just a stamp or something reflective to help me remember why I'm keeping this journal to begin with. I pulled out my Spellbinders Beaded Circles and cut out this image that I stamped from the Verve Words of Wisdom set and then embossed with copper embossing powder.


I thought it looked a bit bare so I added some bling around the beads. Some are Imaginesence, the rest are from my stash. So I'm done and now I can get this baby bound! Here it is after I finished punching all of my holes using my Cinch.

And after a bit of finagling, I put it all together by putting the spiral wire on. I have to say this took a bit more effort that I imagined it would, but I think I might have gone just over the 1" size of the wire so I'll be sure to stay just under it the next time. This morning, as I went back down to my craftroom to inspect my masterpiece I realized that I had done something really stupid last night at 10:30p.m. when I bound the entire thing together - I glued my oh so cute inside sentiment UPSIDE DOWN. With hot glue no less. So, what to do, what to do. Okay, well I can just cover that up.

The New and Improved Version!


Ha! I like it better than the first one. And I got to add some additional dimension which is always a plus. The stamp is the same, but I skipped the embossing and stamped it in Chocolate chip, over a pretty flower from Stampin' Up's Blessed Mother's collection (stamped in Old Olive).
So, that's it! It's finally finished and ready to be used. I think I'll start on that - tomorrow. Thanks for everyone who took the time to read through this loonnnnng post. If you're still with me I hope you have enjoyed what you have seen. I have a few more pictures to show you of the finished journal, including some close ups.


Recipe:
Cinch: 6x6 chipboard pieces, Brown Cinch 1" spiral wire
Paper: Stella & Rose, Bazzil, Coordinations, Canvas, Stampin' Up
Stamps: Hello Doilly (Stampin' Up), Blessed Mother (Stampin' Up), Words of Wisdom (Verve Stamps)
Ink: Stampin' Up Chocolate chip, Old Olive Craft Ink, Old Olive Class Ink, Crumb Cake, Moss
Spellbinders: Beaded Circles, Regular Circles
Cartridges: Elegant Edges
Embossing Powder: Copper, and Moss
Brads: Stella & Rose
Flourish: My Stash
Charms: Making Memories
I have thoroughly enjoyed sharing this project with you. Have a wonderful Sunday!!










 Posts
Posts