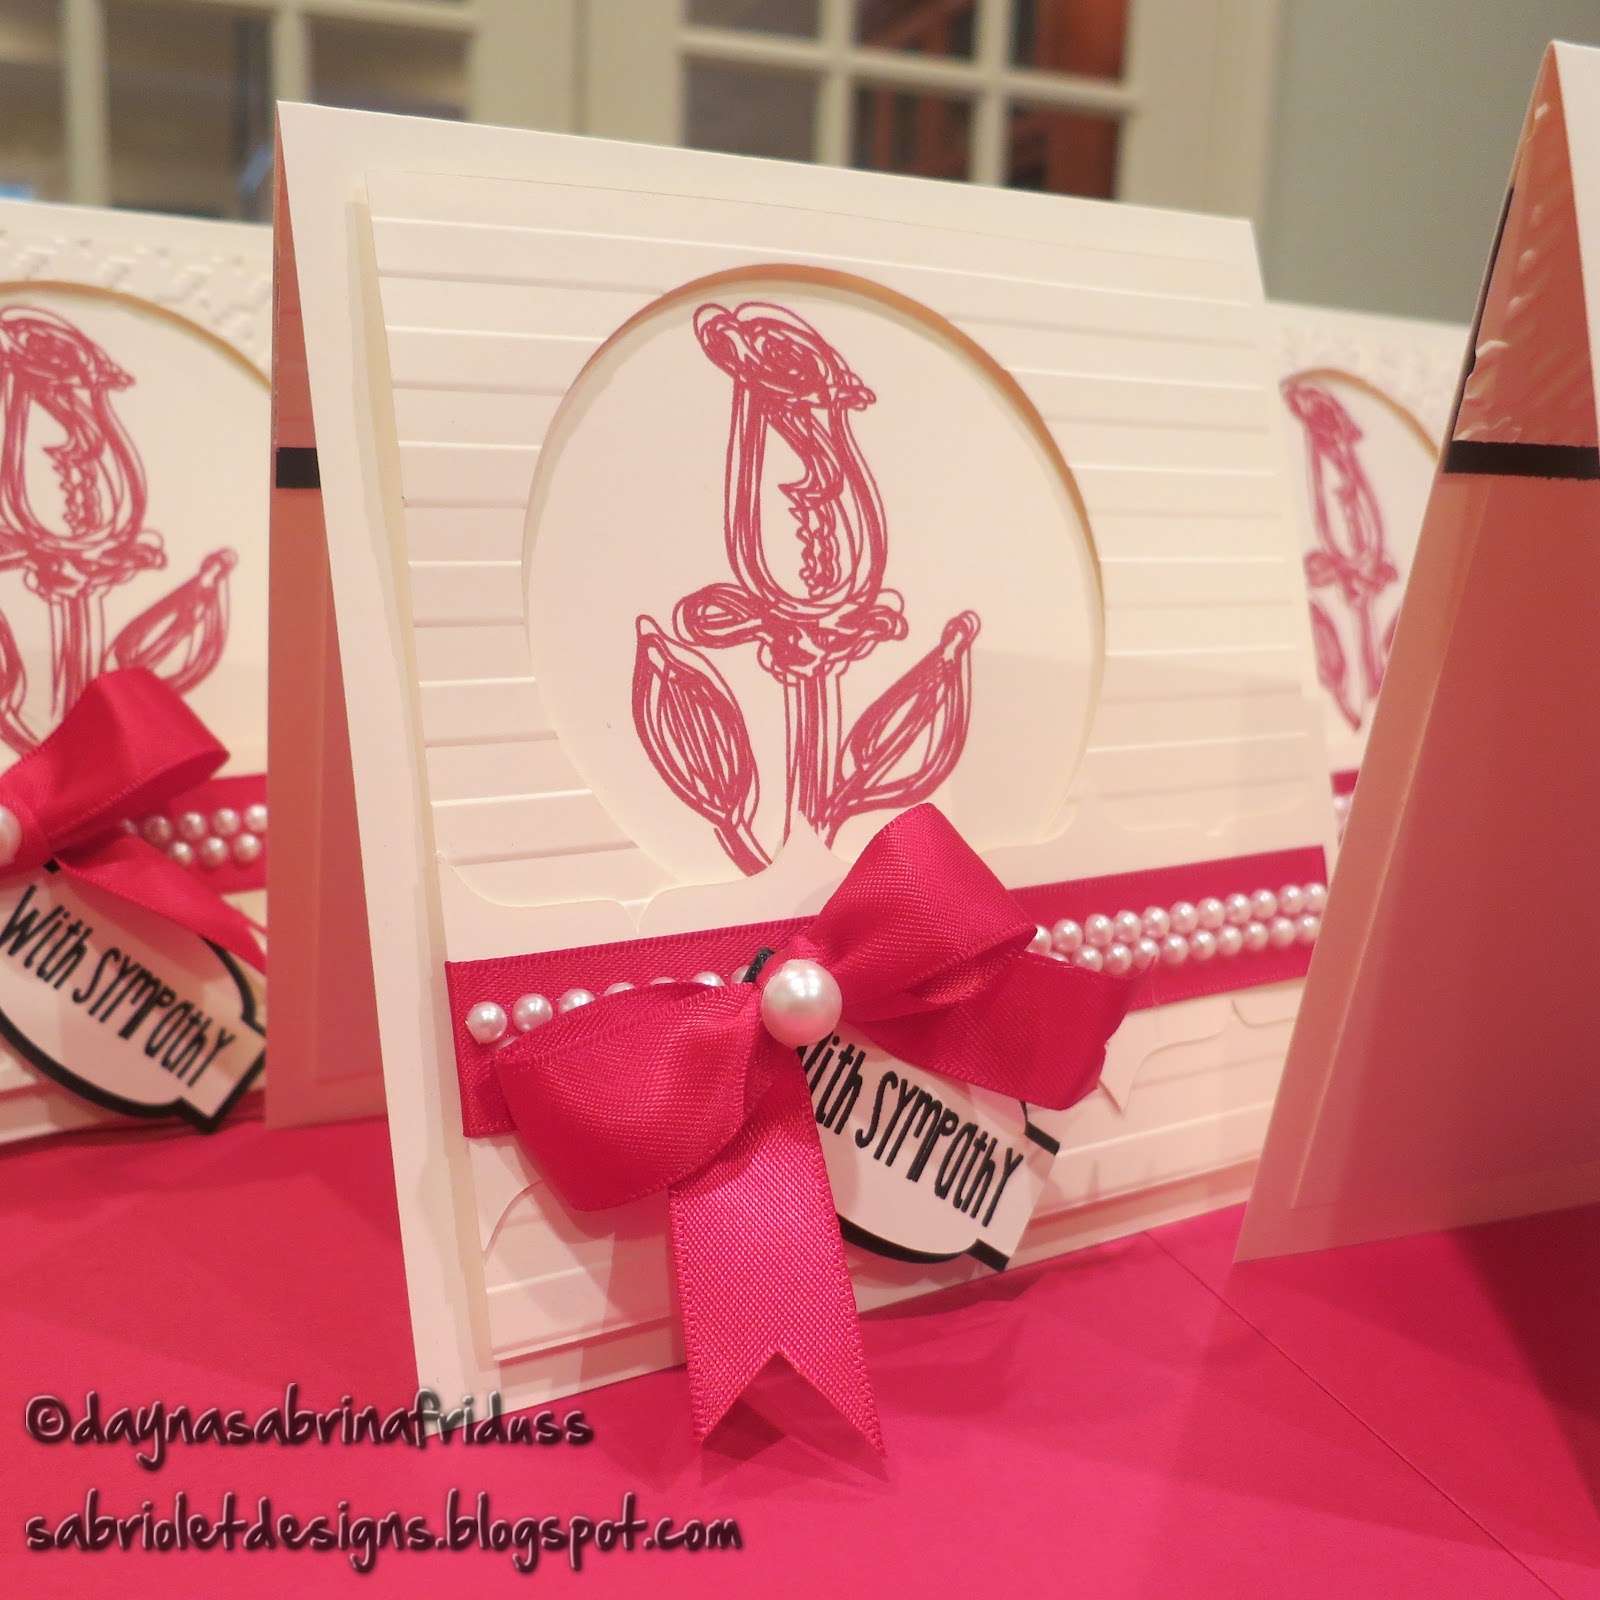
I have had a ton of questions about my use of the Silhouette sketch feature, especially which sketch pens I use. The answer is - None. This is all a print and cut. I transform the images I want into a "sketch" image and then use my printer to print them out and my Silhouette to cut out the shape. I put together a quick tutorial that I hope will help those of you who are anxious to give this feature a try.
First, I open the images I want to use on my mat. I also typed out "A cheerful hello." The font I used here is Book Antiqua.
Next, open the sketch style window. The button is highlighted for you below.
To achieve the effect you have seen on my cards I use the continuous sketch pen. It's circled on the right side of the screen.
The sketch feature also has a "fill" feature. You can fill any of your designs with any number of different sketchy type accents. Here I have filled the parade with the Scribble image. There are two parade images here - the top one doesn't have the scribbles, the bottom one does. This particular effect is subtle so I wanted to show you the before and after so you can really see the difference.
Next up - and this is very important if you are going to print and cut, you need to open the Line Style window and change the line thickness. Whenever you transform an image with the sketch feature, it will automatically default the line thickness to 0. Now those of us who print and cut know that a line thickness of 0 doesn't print, so I need to thicken these lines up. I generally change mine to either .50 or .75. That's enough for a good dark image without being too thick it's difficult to see or read.
After that I turn on the registration marks so that my Cameo will know where the images are.
You need to place your sketch images on top of another shape or layer. Here, I have drawn a simple rectangle box for the image to lay on top off. I have filled it with pink just so you can see it.
Then go to the Cut Style window, highlight the sketch image(s) and change the cut style to NO CUT. I can't stress to you how important this is. If you forget this step, your machine will try to cut out each one of these lines and it is a surefire way to gunk up your blade. How do I know? Because I did it. It was a brand new blade too!
Now you're ready to print and cut. That's really all there is to it. I hope this tutorial was helpful to you. If so, please leave me a comment below!
Thanks for stopping by!