



Showing posts with label Art Philosophy. Show all posts

Monday, January 16, 2012

In Honor of Sophie . . . A Giveaway

My gypsy is going to be headed back to Provo Craft tomorrow for replacement.  Unfortunately this is my second device and it is slowly dying and doing wacky things.  I've been holding off on sending it back, but well, it's time.  So, in honor of my favorite cartridge at the moment - Sophie - I decided to make one final card before I am gypsyless for the next few weeks.  I made this card for a friend who lives far away and who I miss dearly.  We don't do as good as a job as we should at keeping in touch but I am making a better effort this year to keep up.   As you can see, I am still rocking the negative images.  Don't look for this to end anytime soon!


Recipe:
Paper:  K & Company Citronella, American Cardstock
Cricut Cartridges:  Sophie, Art Philosophy
Spellbinders:  Beaded Ovals
Verve Stamps:  Bloom & Grow
Stick Pin:  Caroline's Cartography
Ink:  Stampin' Up
Ribbon:  My Stash
Pearls:  My Stash
Liquid Pearls:  Buttercup and Silver


And now for the giveaway - I recently reached a milestone of 200 followers. In fact I think that happened sometime last week.  I've been blogging for a little less than a year and I have been humbled by the wonderful comments I have received over the days and months for my work, and well, everything that goes into this blog.  So, in honor of that support, I am giving away a Sophie cartridge.  It's a Cricut Circle exclusive - you can't buy it in stores, and it is truly one of the best Cricut cartridges out there.  

So, here's the deal.  Leave a comment at the end of this post with a way to contact you - blog, email, etc.  and you are entered to win. (only one entry per person please) That's it.  No hurdles to jump through - no requirement for following my blog, joining by email, subscribing to my RSS feed etc.  I only want you to do those things if you really want to keep up with what I post here.  I will keep this giveaway open until Saturday, January 21st at 10:00 a.m. EST.  Also, if you have Sophie and aren't interested in the cartridge but still want to comment, please just leave a note saying that you don't want to be included in the giveaway.  

Thanks So Very Much to everyone for the past ten months!

Sunday, October 30, 2011

Frame It Up! A Paper Craft Weekend Challenge

Today I am guest designing on a fabulous blog Paper Craft Weekend Challenge.  I have to thank my good friends Caroline and Allison for giving me the opportunity to be a guest designer this Sunday, the day before the ghosts, ghouls and goblins go walking in your neighborhood in search of candy, candy and even more candy!  So, with a Halloween theme in mind, I have a few projects to share with you and of course I am ready to present this week's challenge:
Frames

I created two cards using frames to create a focal point. The first card's frame can be found on the Happy Hauntings cartridge, and just to prove that you can still create something Halloween themed without a Halloween cartridge, I used a frame from the Circle exclusive cartridge Sophie for the second card.


Now those of you who know me know that I am a big fan of dimension.  I mean it's difficult for me to create any project where every piece of paper or embellishment is laying flat on the paper.  I can't begin to tell you how many pop dots and dimensionals I have purchased over the last year.  I would be lost without them.  That being said, one of the best ways to create dimension is to cut out several frames and put some dimension in-between each layer.  I did this on both of these cards, and it certainly makes the focal point stand out that much more.


I am someone who hates for the inside of cards to be bare so I cut out a few layers and added some stamps.  Again I used Elegant Edges and Art Philosophy for a few of the mats and all of the stamps are from Papertrey Ink's Halloween tags collection.


My son's birthday party is today.  Thankfully it's not the big production that it was last year, it's just going to be family and a few friends.  I decided to make up a few quick pillow boxes for the few friends he has coming - and his little brother of course who refuses to be left out.  The pillow box image is from Easter 2010.  You can find numerous ones on different Cricut cartridges.  I prefer this one because it's easy to fold down in my opinion.  I used images from October 31st, Happy Hauntings, and Wrap It Up to cut out a Halloween themed image that I covered with a clear page protector from the inside.  And then I framed each of the images using an Elegant Edges frame.  The back of the pillow boxes has a band that I cut using Paper Lace 2.


And that's it.  Okay, maybe not - there's a little blog candy to go along with this post.   I am an avid fan and collector of Spellbinder dies. I have one new set of Spellbinders Snowflake dies up for grabs - just in time for your Christmas or winter themed projects!  For those of you unfamiliar with Spellbinders, you can easily use them in most die cutting machines, including Big Shots and Cuttlebugs.  Here is a picture of the dies:


If you are interested in winning this set, please hop over to Paper Craft weekend challenge and leave a comment on my "Frame It Up!" post.  I will leave this open until next Saturday, Noon eastern standard time.

Recipe:
Paper:  K & Company Kelley Panacci, Kraft Spooky Words, DCWV Blossoms & Butterflies, DCWV Ghost & Gobblins
Cartridges:  Easter 2010, Happy Hauntings, Elegant Edges, Sophie, Art Philosophy, Wrap It Up, Paper Lace 2
Spellbinders:  Ornate Artisian Tags & Accents
Stamps:  Papertrey Ink Halloween Tags
Bling:  Imaginesence, White & Black Enamel Accents, Martha Stewart glitter


As always, thanks for stopping by!

Wednesday, October 26, 2011

Card Patterns Sketch Challenge 138

When I saw this week's Card Patterns challenge sketch I fell in love instantly.  I stepped a bit out of my comfort zone and decided to try to cut a doily using one of my cartridges.  Paper Lace is one that I've had for quite some time, and while I've been using it more recently because it has a great chunky font, I haven't given the other images much attention.  I'm glad I decided to use it because there are some gorgeous doilies on this cart!  I cut this one out at at 5 1/2 inches using a multi cut and it cut out very well.  I really love this card.  It's very different from anything I've made before.  I've had this ribbon in my stash for about six months now.  I found it at a local scrapbook store my best friend turned me onto.  I used my glue gun to cinch the words closer together and then to adhere the ribbon across the top of the card.  And just for my sister - I used my brand new hot glue gun and didn't burn myself once.  So there!

The Front:


The butterflies were cut from Cupcake Wrappers - believe it or not it's designed to be a cupcake topper! I inked the butterflies' edges with Soft Suede (Stampin' Up) and added a flower cut from Art Philosophy.  It's hard to go wrong with that cart, there are so many versatile images on it.


The Back:


I definitely feel like I'm in the zone.  It's been a good couple of weeks of crafting.  I'm excited to see what I can come up with next!

Recipe:
Paper:  Kraft Paper, DCWV Stripes, Plaids and Dots,  Coordinations Vintage Blue, Stampin' Up Natural White
Cartridges:  Paper Lace, Art Philosophy, Cupcake Wrappers
Other embellishments:  Ribbon (my stash), Pearls (my stash)

Thanks so much for stopping by today!

Sunday, October 16, 2011

Waltzingmouse No. 69

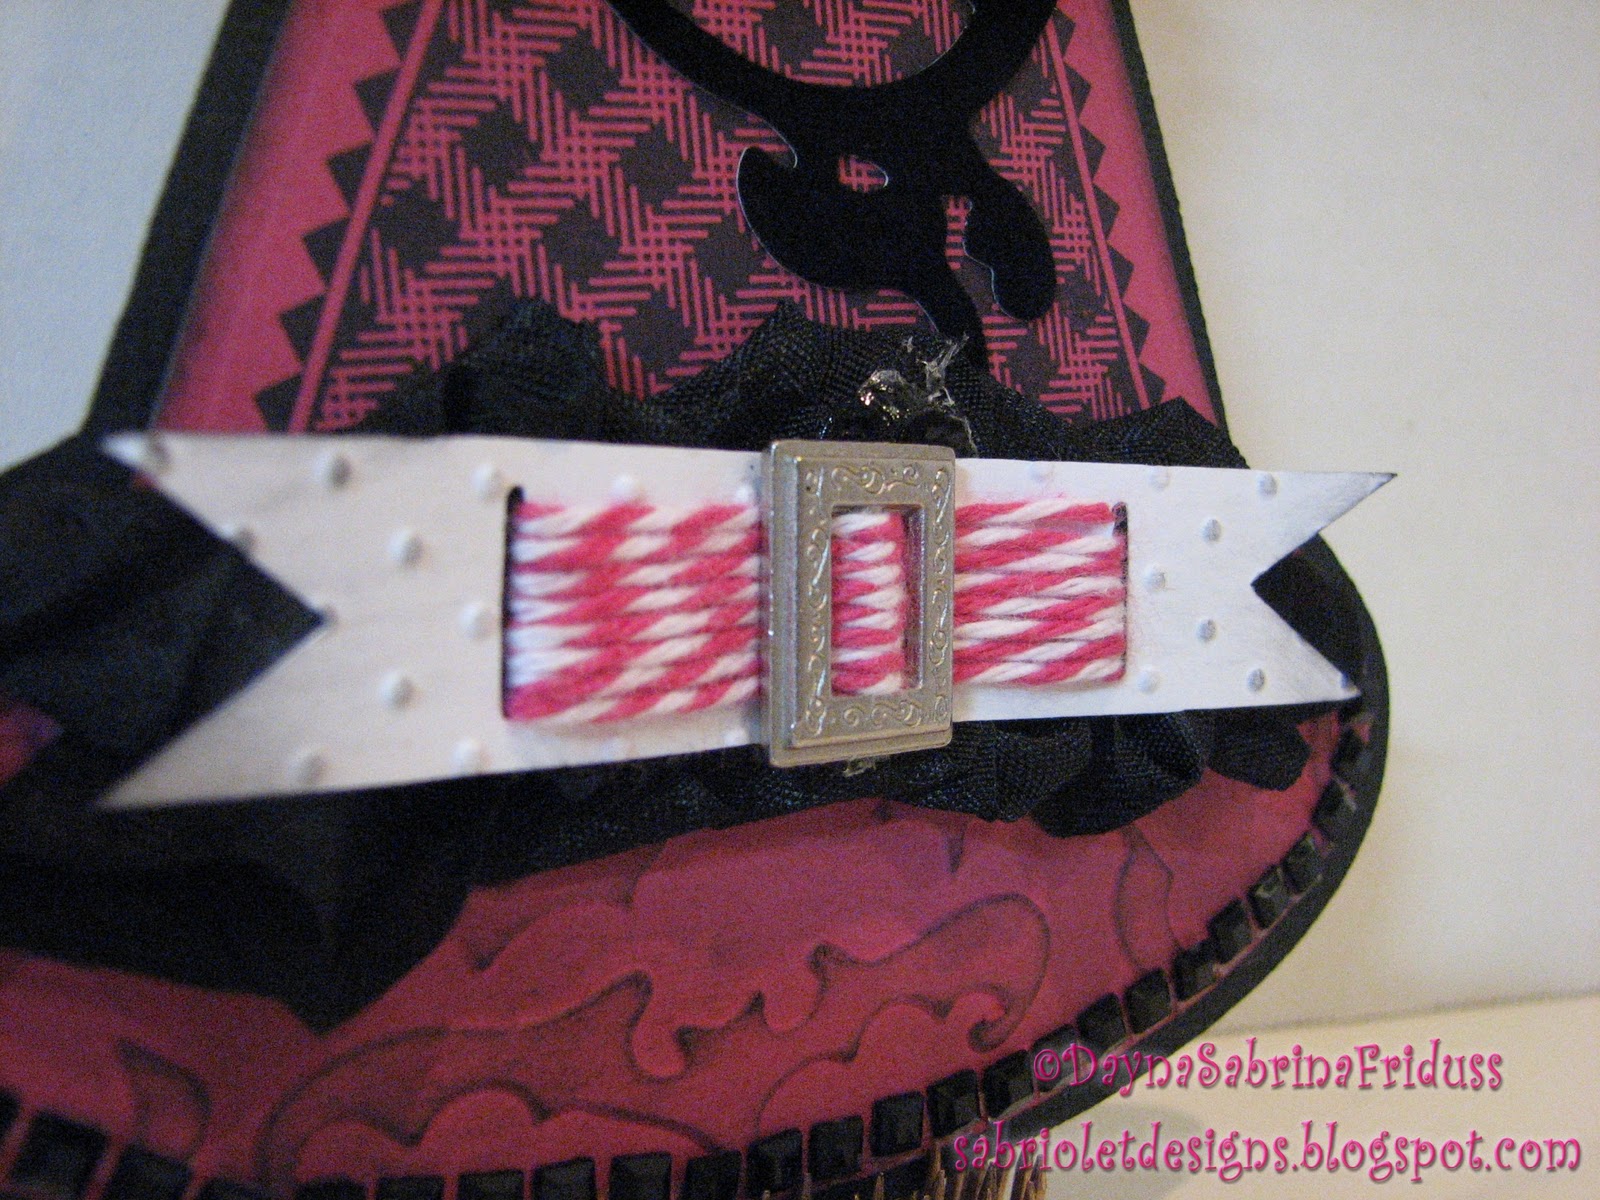
This is going to be a short and quick post.  Here is my entry for this week's Waltzingmouse sketch challenge.  I used my new Waltzingmouse background stamps designed to work with Spellbinder dies in order to make this witch's hat tag.  I added an oval made using Make The Cut. I then added a little crinkly ribbon (I am cleary already addicted to the stuff!), a tag cut using Art Philosophy that is embellished with twine and a buckle.  One more detail - a flocked flourish which gives it a bit more of an elegant touch.  Walla!  Tag complete!  Okay, minor mistake - I got a little happy with the glue gun and there is a little glue residue on the ribbon. Eh, I still like it.  I will Here is the finished product:


Thanks for stopping by today!!

Saturday, October 1, 2011

More Thank You Cards

I am starting to wonder how many of my blog posts have "Thank You Card" in the title?  Probably a lot.  I wish I had something more creative to call them, but Thank You card really does cover it.  This week I loved the card I came up with for the Waltzingmouse sketch so much that I decided to use it to make a bunch of thank you cards for my son's teachers and therapists.  Each one took quite a bit of time as I was sort of playing around with paper, colors, and especially embellishments.  I will warn you, I like to take a lot of pictures and also, well, I went a little crazy on embellishing a few of them.  Eh, not everything can be a masterpiece right?


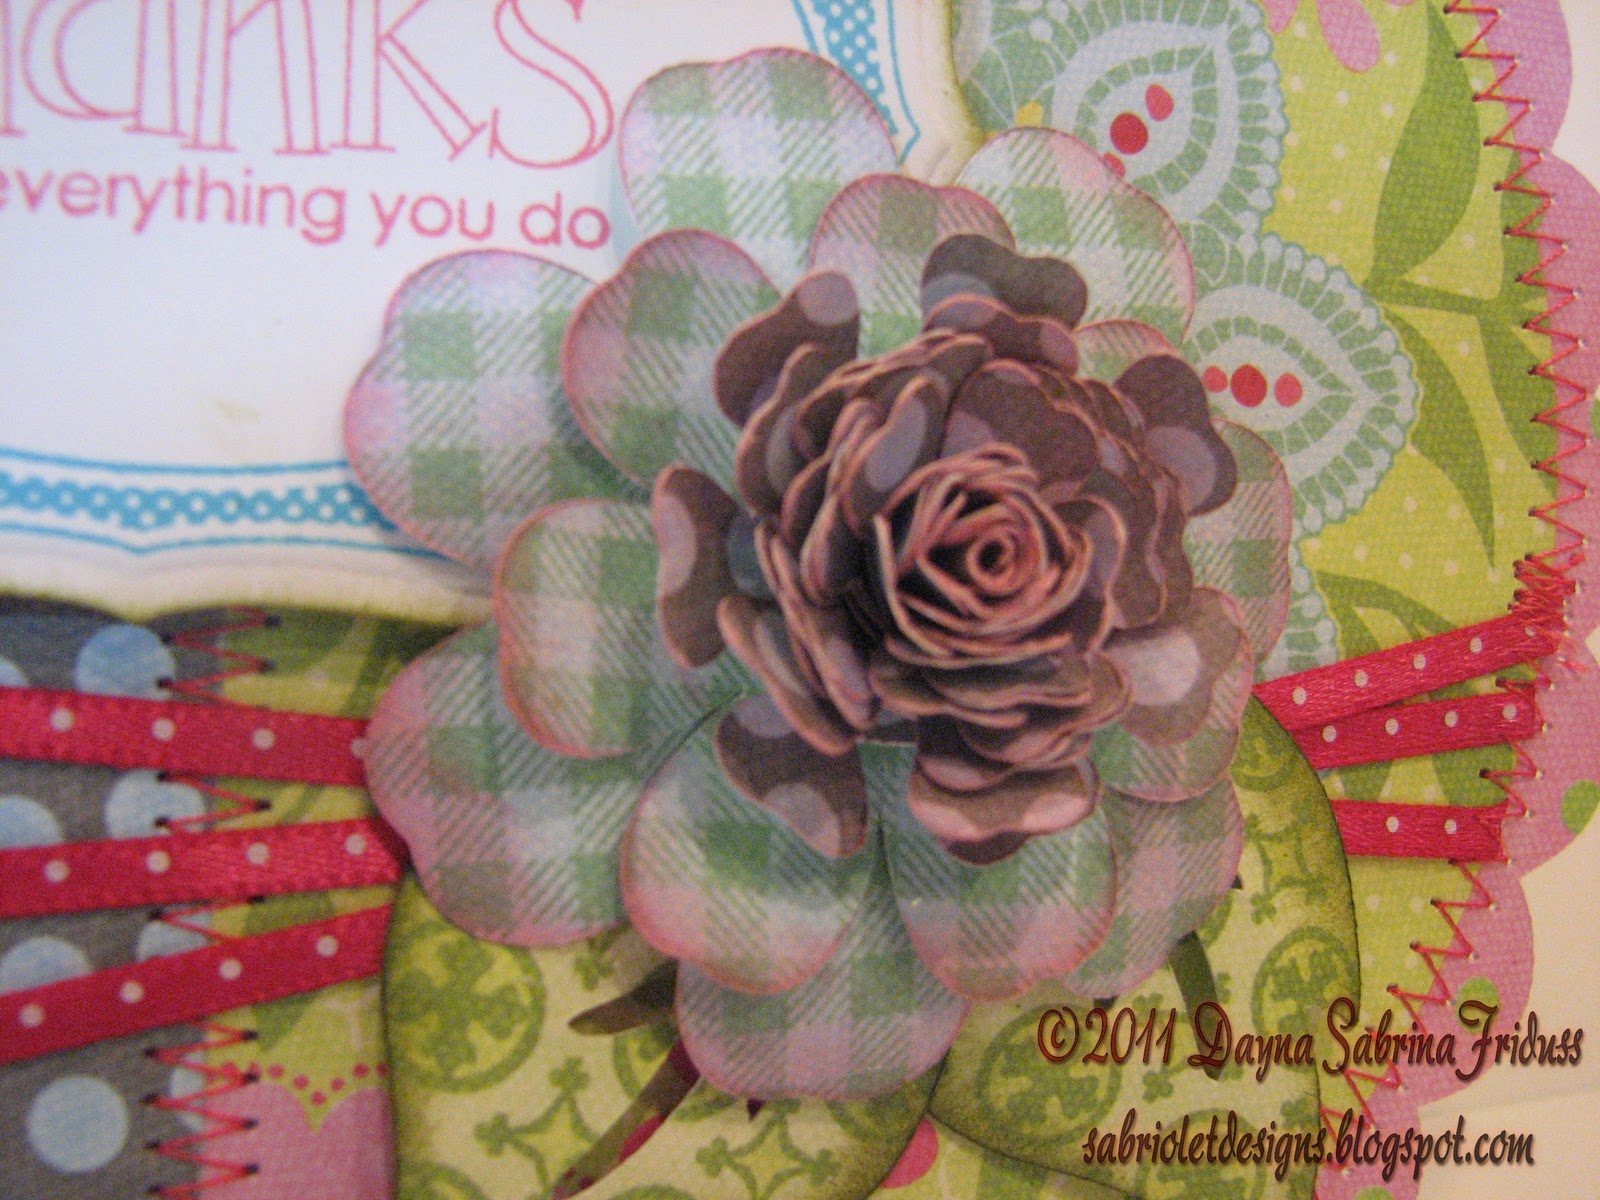
Okay there is a lot going on here right? The basic form of the card is the same, three different papers stitched together, accented with flowers and a Thank You tag.  With that said, I used a lot of different things here, too many to name actually.  If you have a question about a specific card, please send me a note.  Some of these came out better than others, but I liked them all well enough to display them here, even if I did go crazy on the flowers on that last one.

Thanks for stopping by today!

Monday, September 26, 2011

Happy Birthday To You - A Waltzingmouse Sketch Challenge Card

This card is for the latest Waltzingmouse Sketch Challenge Blog.  I have a new love affair going on with Waltzingmouse stamps and their challenge blog.  Awesome, awesome work, so please check them out.  For this sketch, I pulled out a paper stack that I've had longer than I can remember, but until recently haven't done anything with.  I'm sure I'm not the only one out there who hoards paper.  You know who you are!  It's the DCWV Black Currant stack, and there are some really elegant papers in this stack.  Since this is a circular card, I decided the easiest way to cut the base shapes would be to use my Cricut.  I used the card feature on Art Philosophy for the card base. This cartridge is worth its weight in gold for the cards alone.  They are so many different options.  Not only is there a simple circle card shape but several different scallop shaped cards as well.  At first I went with just the basic circle, but after I had adhered the pattern paper I decided I needed something extra so I went back and cut out a scallop circle to use as a mat and then added a zigzag stitch to give it a bit more interest.  


The stamps are all Waltzingmouse, and the ribbon tag is from Spellbinders.  The bling on the center of the circle is from Prima.  I really, really like this card and since I rarely have any Birthday Cards on hand I'm sure this one will be used soon.


Here is the inside:


Thanks for stopping by! 
Related Posts Plugin for WordPress, Blogger...